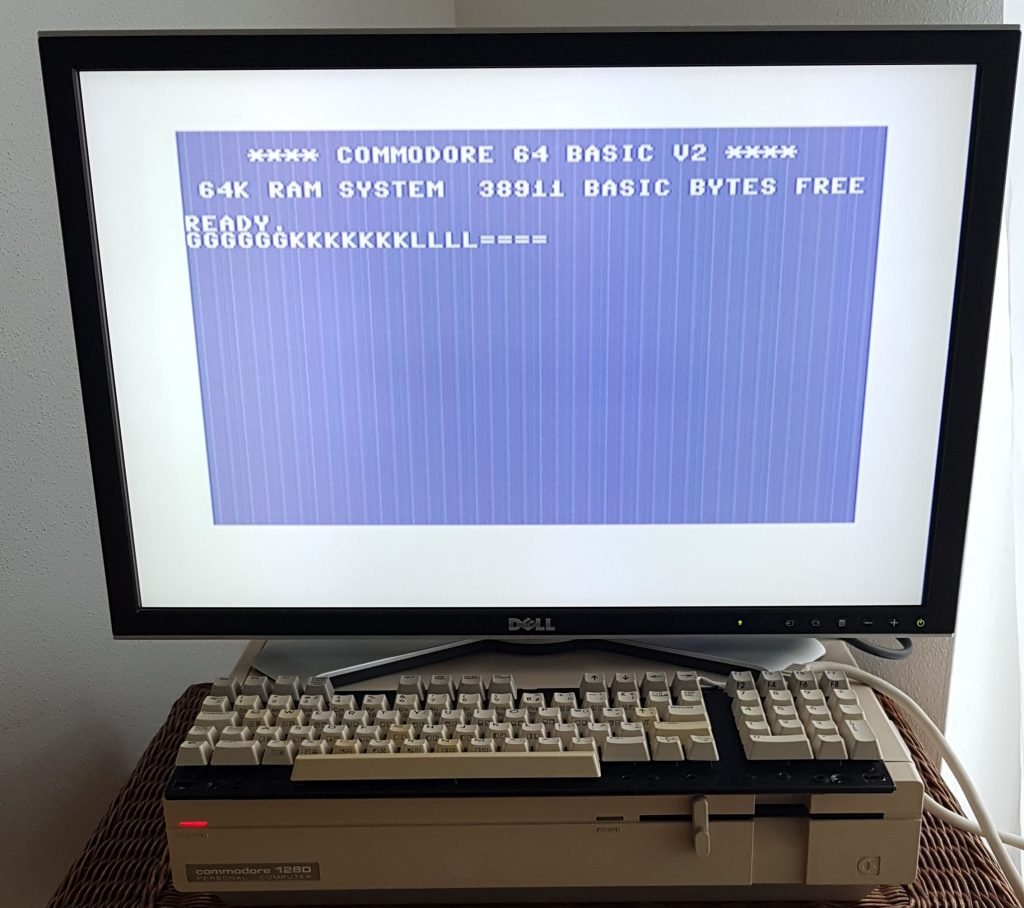
Unfortunately, old Commodore computer keyboards are notorious for the fact that individual keys function poorly or fail completely after a long period of use.
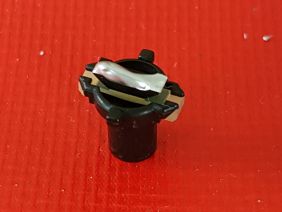
The keys consist of a keycap, a steel spring, a plunger, a rubber band and an attached contact bridge (“key stalk”) made of a soft material that is conductive. Or better to say should be conductive…
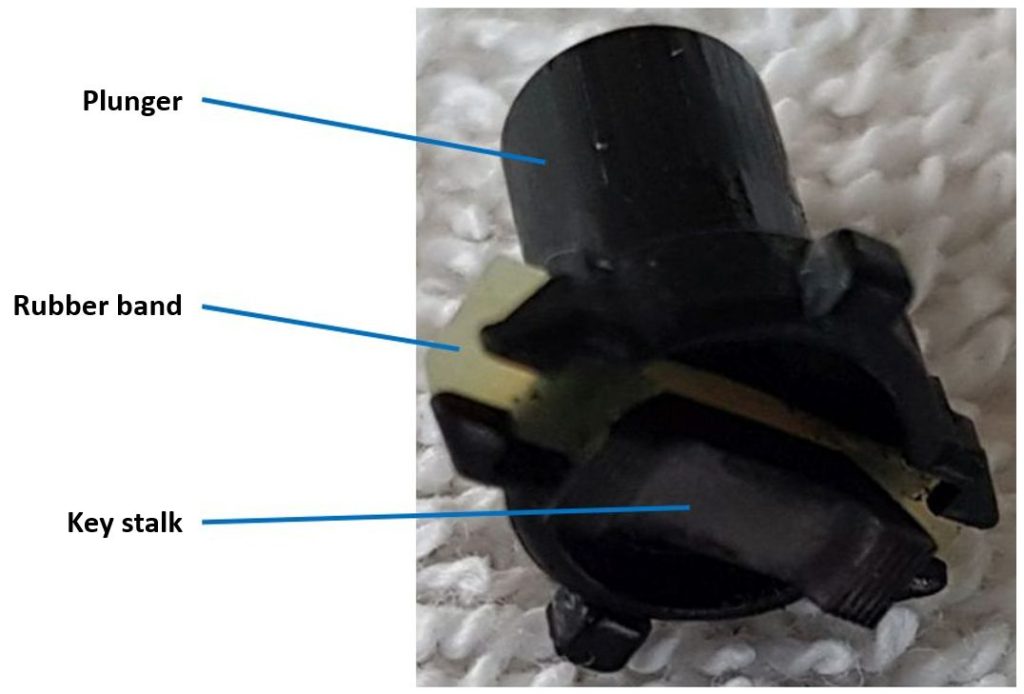
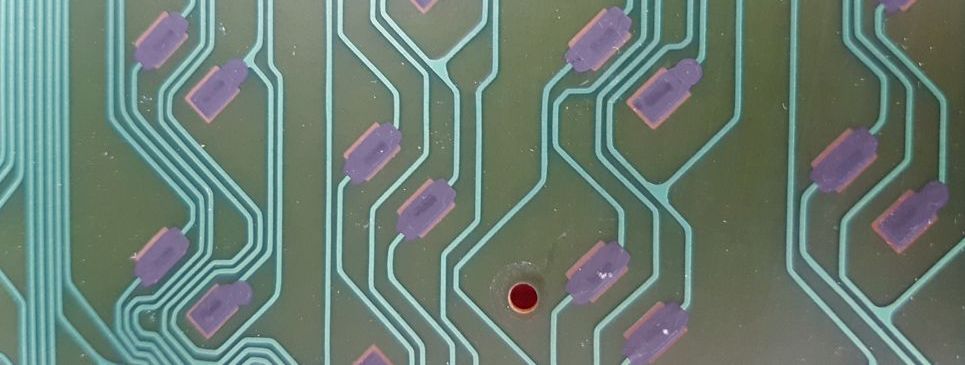
Pressing the keycap pushes the whole assembly down, causing the plunger to move down and the contact bridge to close the contact on the circuit board. In addition to dirty contact points on the printed circuit board, in my experience it is usually the contact bridges that no longer conduct the current.
Today’s high costs for used keyboards on eBay, for example, mean that repairing the old keys definitely makes sense. There are five ways I know of to repair individual Commodore keyboard keys:
- The exchange. There are two options: Buy a used plunger from a cannibalized keyboard or buy a plunger as a replica. Used plungers usually come with a rubber band and contact bridge. I am not aware of any offers for replicas from the 3D printer where you can also get a rubber band and contact bridge. When shopping, you have to be careful about the length of the plunger and spring. Unfortunately, these differ from Commodore keyboard to keyboard.
- Coat the contact bridge with a very soft pencil – in my opinion, this procedure only helps temporarily and hardly improves the conductivity of the contact bridge.
- Processing the contact bridge with graphite spray such as GRAPHIT 33 from CRC Industries Kontakt Chemie. Some people on the internet have reported good results using this spray.
- Stick the surface of the contact bridge with aluminum foil or copper tape. I have no experience with this, but it sounds like a lot of fiddling.
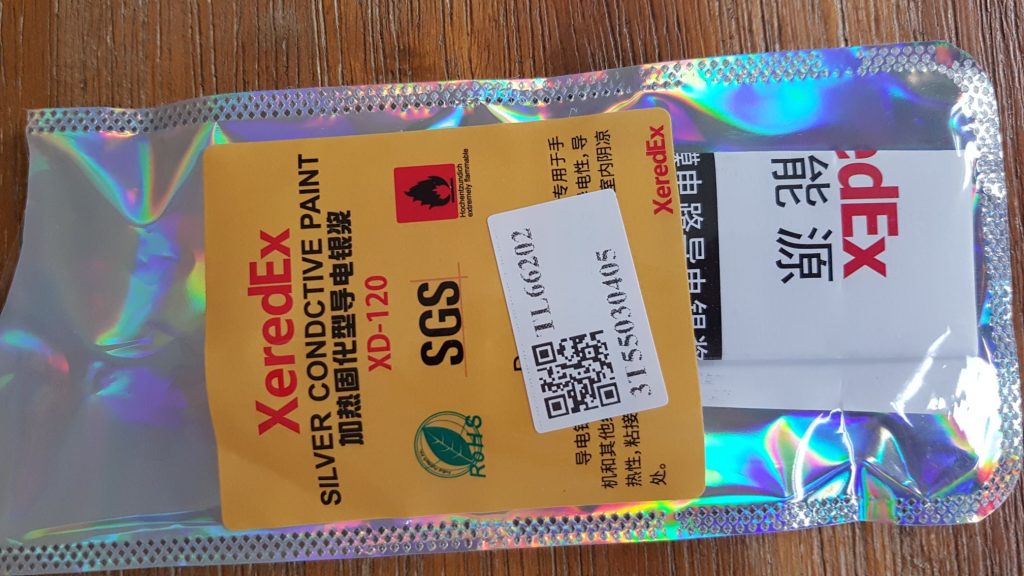
- I tried it with a silver paint that is offered as a Chinese product in small quantities and in multiple packaging. This silver paint (not an adhesive, even if it is sometimes called that by mistake!) is said to have good adhesion properties and a very low electrical resistance.
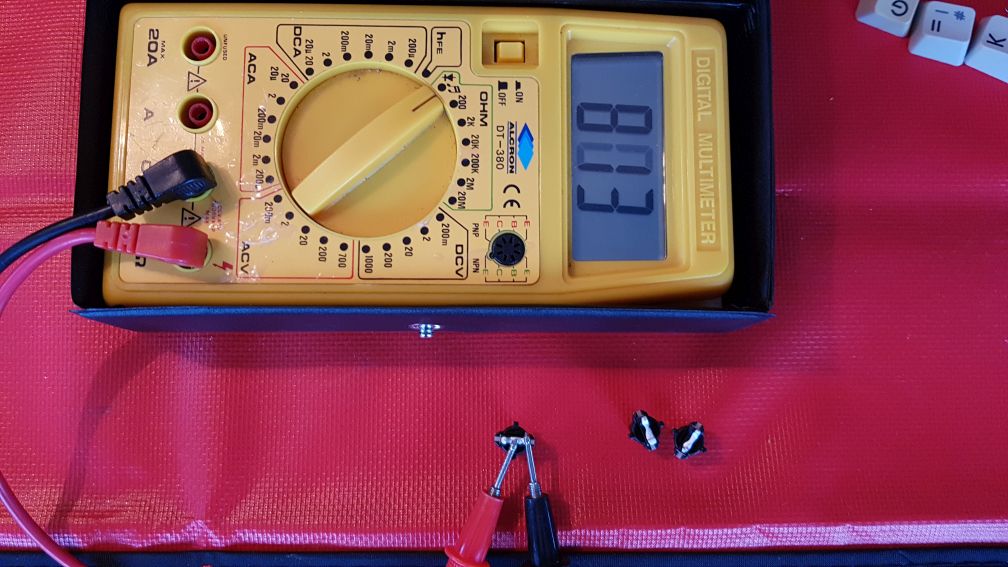
Speaking of resistance. The contact bridges on my C128D keyboard show different readings, from around 90 ohms to over 1000 ohms. However, even the high-resistance keys work. The keys that do not work are clearly displayed with a „1“ by the continuity tester.
I specifically ordered the product „Olddreaming silver conductive wire adhesive paste“ (article XYX-031, EAN 7783779993768) in 0.3 ml on Amazon. The product comes in a thin syringe with a cannula and a Chinese leaflet. As is so often the case with such products from China, the manufacturer’s designation and product name are completely arbitrary. The leaflet then shows „XeredEx XD-120“ as the product, but I also found „ENSON“ as the product name on the Internet.
This is how I proceeded with my C128D keyboard (from Mitsumi, type C-128P 56 3092):
- Removed six Phillips screws from under the keyboard feet, opened the keyboard case
- Loosened six smaller Phillips screws connecting the circuit board and carrier plate to the upper casing
- Opened the wire bridges of the three caps lock keys with the soldering iron. Dissipate the heat appropriately; I did it with a large, flat pair of tweezers
- Removed the many small Phillips screws (27) from the underside of the printed circuit board
- Pulled off the affected keycaps with a keycap puller
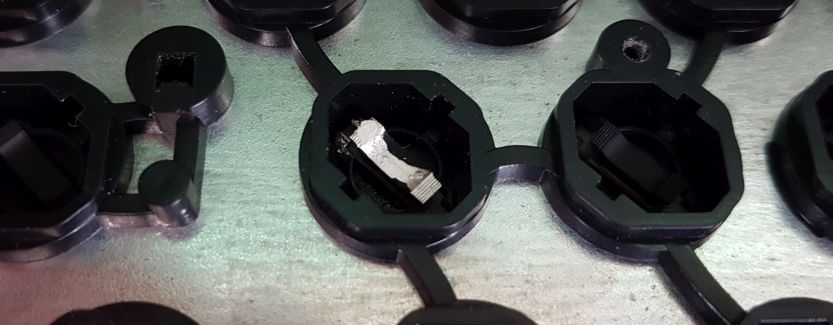
- Slided out the affected plunger with my finger
- Cleaned the surfaces of the contact bridges with Isopropanol
- To be on the safe side, cleaned the contact side of the printed circuit board
- Coated the contact bridges with silver paint and let them dry for about 1 hour at about 25 C°. Don’t apply the paint too thick. Using the cannula as a tool you can distribute the paint layer quite well if you have worked unevenly
- Tested the conductivity of each new contact bridge. Reassembled everything in reverse order
- Keep in mind that the small steel spring that fell on the floor when you opened the keyboard has to be placed in a round holder near the number pad above the plus “+”.
Steps 1 through 4 depend on the keyboard being repaired. Depending on the computer model (VIC-20, C64, C64C, C128, C128D, etc.), an adapted procedure must be used here. Step 11 is only an issue for the C128(D).
I used very little material from the syringe to repair the contact bridges. After 8 keys I had used roughly half of the original 0.3 ml.

The contact bridges treated in this way have very low electrical resistance and the keys work again without any problems. Initial tests have shown that the appearance of the silver on the contact bridges does not change if you press the buttons a few dozen times. I will report at this point how reliable the repair is after a long period of use.
A disadvantage of this procedure could possibly be that the fine work with the syringe requires a steady hand and, depending on your own eyesight, maybe even a magnifying glass. But I managed it well and got better from key to key.
Strangely enough, the coat of silver paint didn’t work on two keys – see the third picture above. I removed the silver tracks with the tweezers, cleaned the contact bridges thoroughly and applied silver paint again. Then it worked.
Incidentally, I was able to repair a caps lock key that no longer worked by simply removing the keycap and then spraying some Isopropanol into the switch from above. Pressed the key a few times – et voilá – working again.